In this article
Your garage door just stopped closing. The light on the opener is blinking, and you have no idea why. Before you call anyone, take a look at the two small boxes near the bottom of your door frame. Those are your safety sensors, and a blinking light usually means they have stopped talking to each other. Most of the time, the fix takes less than five minutes. Here’s how to work through it.
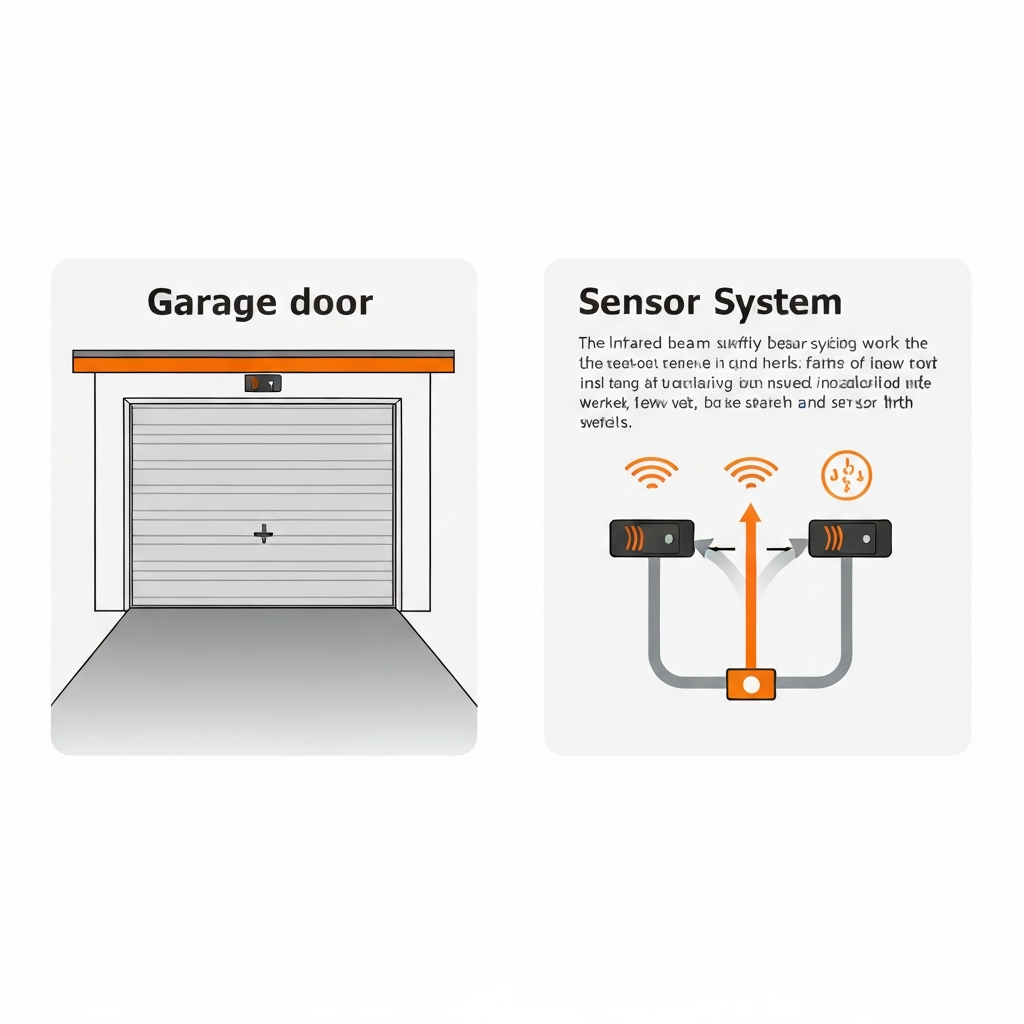
What the Sensors Actually do
Garage door safety sensors work as a pair. One box sends out a thin infrared beam, and the other receives it. When the beam is unbroken, the door closes normally. When something interrupts it, the door stops and reverses, and the opener starts blinking to tell you something is wrong. That “something” could be a spider web, a buildup of dirt on the lens, a slight knock that pushed one sensor off-axis, or even direct sunlight hitting the receiver at the wrong angle. None of these are expensive problems. But they’re easy to misread if you don’t know what you’re looking for.
Read the Blinking Lights First
Before touching anything, watch the two sensor lights. Both should be solid when the system is working correctly. Here is what the patterns mean:
- One light is off entirely: that sensor has no power. Check the wiring at the back of that unit.
- One light is dim or flickering: the beam is partially blocked or the sensors are slightly out of alignment.
- Both lights are on but the door won’t close: the opener’s logic board thinks the beam is broken. Try disconnecting and reconnecting the sensor wires.
- Green light solid, amber light blinking: classic misalignment on a LiftMaster or Chamberlain opener. Amber = sending, green = receiving. The receiver is not catching the beam.
The pattern tells you where to start. Do not skip this step.
How to Fix Sensor Alignment
Misalignment is the most common cause of sensor problems our technicians run into when we get called to fix a garage door opener in Ottawa. Here is the process that works on almost every residential opener brand.
- Loosen the wing nut or bracket screw on the blinking sensor. Do not remove it completely, just enough to let the sensor pivot.
- Gently tilt the sensor while watching the indicator light. Move it slowly until the light goes from blinking to solid.
- Once the light is solid, tighten the bracket back down without moving the sensor.
- Test the door by closing it with the wall button. Watch both lights the entire time.
If the light goes solid but the door still won’t close, the sensors are talking but the opener needs a moment to reset. Disconnect power at the ceiling unit for 10 seconds, then reconnect.
Clean the Garage Door Sensor Lenses
A dirty lens is easy to miss because the sensor might look fine from a few feet away. Use a dry microfibre cloth to wipe both sensor faces. Do not use glass cleaner, as it can leave a residue that interferes with the beam. If there is grime or cobwebs on or around the sensor housing, clear them completely. Even a strand of spider web crossing the beam path is enough to trigger the safety circuit.

When Sunlight is the Problem
Afternoon sun coming through the garage opening at a low angle can overwhelm the receiving sensor. This is a seasonal issue in Ottawa, where the sun’s angle changes noticeably between winter and late spring. Signs that sunlight is the cause, the door works fine in the morning but refuses to close between 3 and 5 pm. It may also work normally on overcast days. The fix is to shade the receiving sensor. Cut a small piece of cardboard tubing or use the sensor extension sleeve (if your opener came with one) to block direct sunlight from hitting the lens. You can also try rotating the sensor slightly downward, which works on many bracket designs. If none of that solves it and you are dealing with motor unit issues on top of the sensor problem, it’s worth having one of our professionals come out and take a look.
Wiring Problems to Look for
White sensor wires stapled to the wall can get pinched, chewed by pests, or worked loose over time. Walk the entire wire from the sensor to the opener and look for:
- Bare wire exposed at any point along the run
- A kinked section where a staple was driven too tight
- A loose terminal connection at the sensor head or the opener logic board
- Corrosion on the terminal screws (common in garages that get damp in winter)
If you find a break, you can splice it with a connector clip. If the wire runs through a wall and you cannot trace it, that is when a service call makes sense. Trying to pull wire through finished walls usually causes more damage than it fixes.

When to Replace the Sensors
Sensors do not last forever. Most have a lifespan of eight to twelve years, though they can fail earlier in garages with temperature extremes or moisture. Signs that a sensor has reached end-of-life:
- You’ve cleaned and aligned it multiple times but it keeps blinking
- The plastic housing is cracked or the lens is clouded from UV exposure
- One sensor light stays off even after checking all the wiring
- The sensor body is corroded
The brand matters less than making sure the replacement is compatible with your opener model. If you are unsure, your model number is printed on a sticker inside the opener housing. Bring that number when shopping. If getting it working again means replacing the sensors, the installation is straightforward on most systems. New sensors come with mounting brackets and a short wiring pigtail. Match the wire colours to the terminals on the opener.
The Bottom Line
Blinking sensors almost always come down to four things, alignment, a dirty lens, sunlight interference, or wiring. Start with the simplest fix and work your way through the list. Most sensor problems are DIY-friendly and take under ten minutes once you know what to look for. If you’ve worked through everything and the sensors still won’t cooperate, the problem has moved past a simple adjustment. At that point, a technician can run diagnostics on the full safety circuit in about twenty minutes, which is a lot less aggravating than guessing at the cause. Book a service call with Berintek Garage Doors if you’re in Ottawa or nearby, we’ll come out same day and fix the issue for you!
Common Questions About Garage Door Sensor Issues
Can I override the safety sensors to close the door?
Most openers have a manual hold-down feature. If you hold the wall button continuously, the door will close while you hold it, bypassing the sensor circuit. This is a workaround, not a fix. Use it only in an emergency and get the sensors sorted before relying on the door again. Never defeat safety sensors permanently.
Both sensor lights are on but the door still won’t close. What’s happening?
When both lights appear solid but the door still won’t close, the most likely cause is a logic board fault or a sensor that is reporting correctly to the light circuit but not to the safety circuit. Try power-cycling the opener. If it still won’t close, the problem may be inside the opener itself rather than the sensors.
Why do my sensors work in winter but fail every spring?
This is almost always a sunlight angle issue. As the sun rises higher in the sky in spring, afternoon light hits the garage opening at an angle that can directly strike the receiving sensor. Shading the sensor with a short sleeve of cardboard tubing usually solves it.
How far apart should garage door sensors be mounted?
Sensors are mounted on the door tracks, one on each side, facing each other. They should sit no more than six inches above the floor. Exact height is less important than making sure they are at the same height on both sides so the beam travels horizontally.

Written by
Amir S.
Garage Door Technology Specialist
Amir focuses on the technical specifications and performance standards of residential garage door systems across the Ottawa region. He specializes in the thermal efficiency requirements for local climates, specifically R-16+ insulated doors designed for Ottawa winters. Amir provides detailed insights into custom carriage-style designs and steel builds, helping homeowners understand the durability and energy-saving potential of modern door installations.